CaptureGem: Record Your First Session (Fast Setup)
If you’re new to CaptureGem, the goal is simple: start recording fast, avoid missed moments, and end up with clean .mp4 files you can review and manage later.
Official site (download + feature list): https://www.capturegem.com/
Step 1: Add a model (or group) you want to track
CaptureGem is designed around tracking models and recording streams reliably.
- Add a model you want to record
- If you follow the same performer across platforms, use Cross‑Site Groups so CaptureGem can keep tracking them if they move
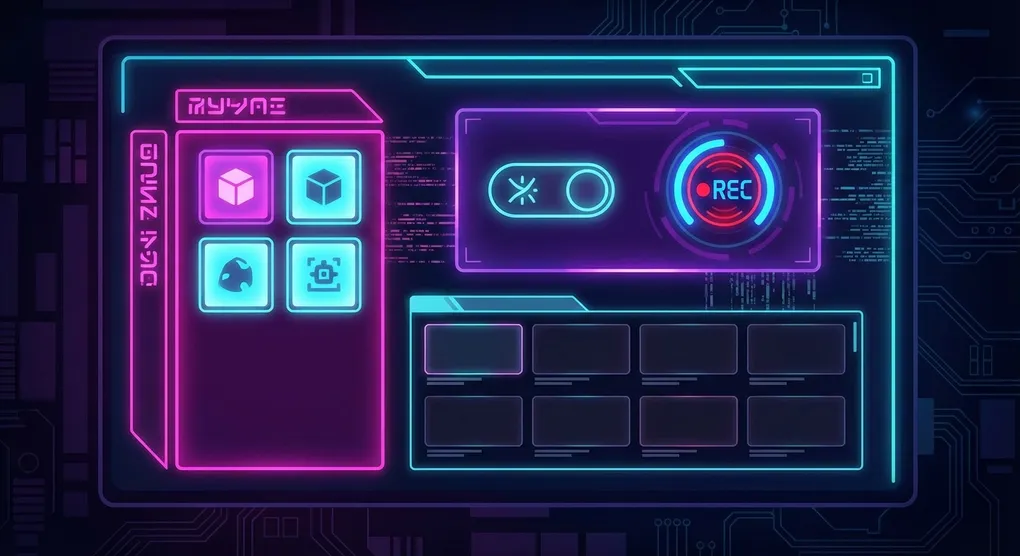
Step 2: Turn on Auto‑Record (go‑live)
One of CaptureGem’s best features is Auto‑Record on Go‑Live:
- Automatically starts when a model comes online
- Can resume after disconnects
This is how you stop missing the first 60 seconds.
Step 3: Pick your recording quality baseline
For most people, a stable default wins:
- Frame rate: 30 fps
- Resolution: match the source (don’t upscale)
- Prefer hardware encoding when available
If your machine can handle it, you can push quality later.
Step 4: Confirm your workflow for reviewing
After your first recording, use CaptureGem’s Review & Manage tools:
- Image grids / thumbnails
- Favorites + tags
- Deletion protection (so you don’t nuke the wrong file)
Step 5: Monitor live recordings (optional)
If you’re recording multiple streams at once, the Live Monitor gives you real‑time thumbnails of active recordings without extra bandwidth.
Quick checklist
- Model (or cross‑site group) added
- Auto‑Record enabled
- Quality baseline set
- Record → Review → Tag
If you tell me your OS (Windows/macOS) and whether you use standard or VR streams, I’ll tailor settings specifically for that.
Related guides
- Key features overview: /blog/2026-02-27-capturegem-features-overview/
- Best settings (quality vs file size): /blog/2026-02-27-capturegem-best-settings/
- Audio setup: /blog/2026-02-27-capturegem-audio-setup/
- Troubleshooting: /blog/2026-02-27-capturegem-troubleshooting/